
Start your first self-hosted instance
This guide gets a trial instance of the Self-Hosted Simple FTP Server running on your local computer, serving the same services you configured in the DocEvent console. You will need:
- a DocEvent account
- Linux, macOS or Windows (or Docker)
- at least one configured service connecting to your S3, Azure or GCS bucket - create one here if you have none yet
Step 1 - Activate a trial license
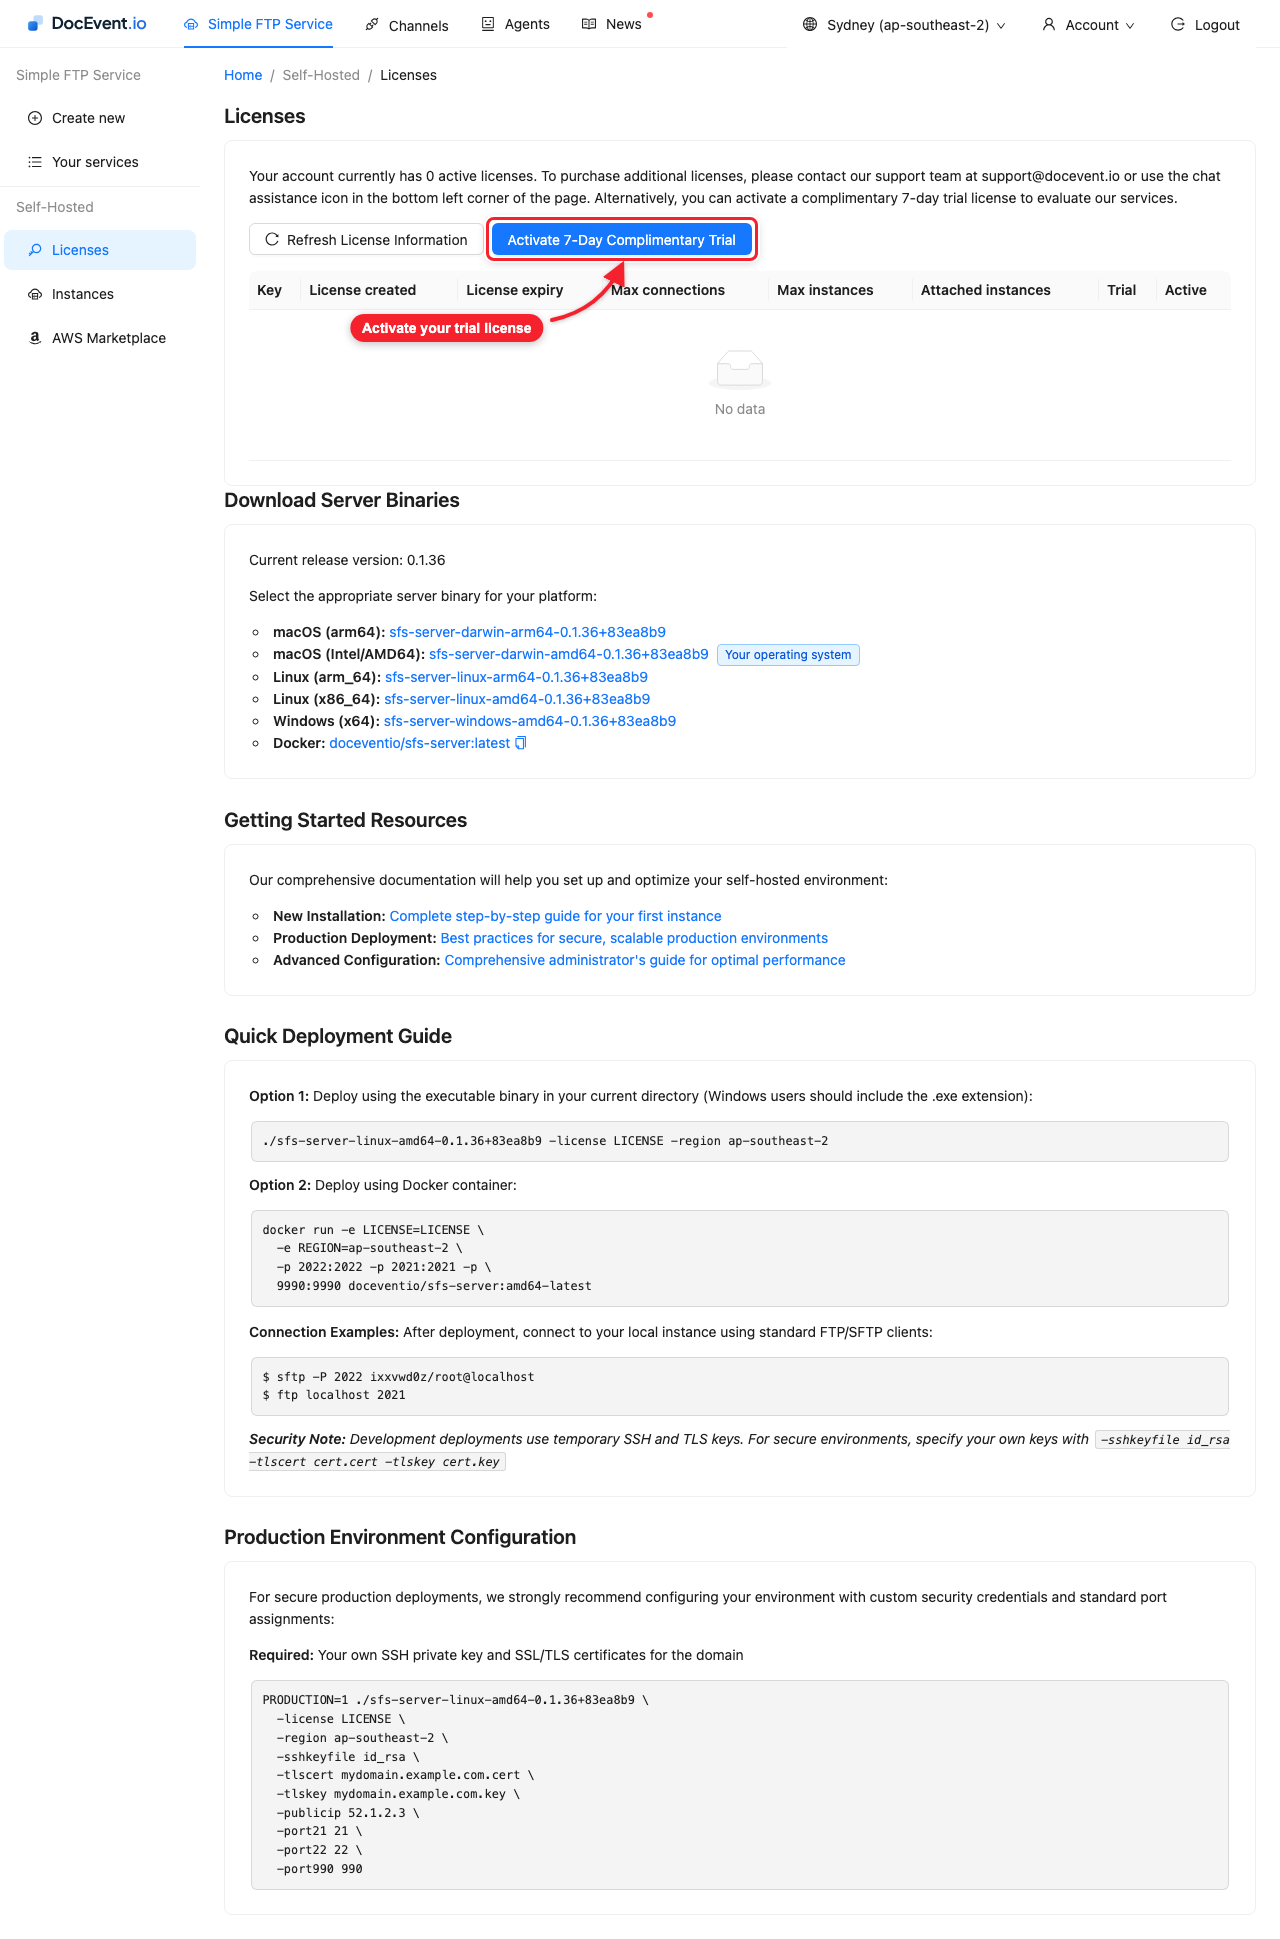
Open Simple FTP Service → Self-Hosted → Licenses in the console. If you have no licenses yet, click Activate 7-Day Complimentary Trial - the new license key appears in the table. That key is what you pass to the server.
Step 2 - Download the server
The Download Server Binaries section on the same page lists the current
release for every platform - pick yours (or use the
Docker image doceventio/sfs-server).
- Linux / macOS: make the download executable with
chmod a+x <file> - Windows: rename the download to end in
.exe
Step 3 - Start the server
Run the binary with your license key and the DocEvent region your configuration lives in - the options are identical on every platform:
./sfs-server-linux-amd64-<version> -license <your-license-key> -region ap-southeast-2
By default the server listens on:
| Protocol | Default port | Change with |
|---|---|---|
| FTP + explicit FTPS | 2021 | -port21 |
| SFTP / SCP | 2022 | -port22 |
| Implicit FTPS | 9990 | -port990 |
Startup takes a few seconds - the server prints its port configuration and SSH fingerprints, then fetches your services from the cloud. The line to wait for is:
SFS configuration loaded successfully
From that moment the instance is serving your services locally.
Step 4 - Connect to it
Use any service user you have configured - the same
serviceid/username logins as the cloud service, now against your own
machine:
sftp -P 2022 'serviceid/username@localhost'
Uploads and downloads go to the same backend bucket the service points at.
Connections are logged to standard output - see Server logging for the format and how to ship it in production.
Step 5 - Manage the instance from the console
Every running instance appears on Self-Hosted → Instances in the console, and stays connected (reconnecting automatically through network hiccups). From there you can:
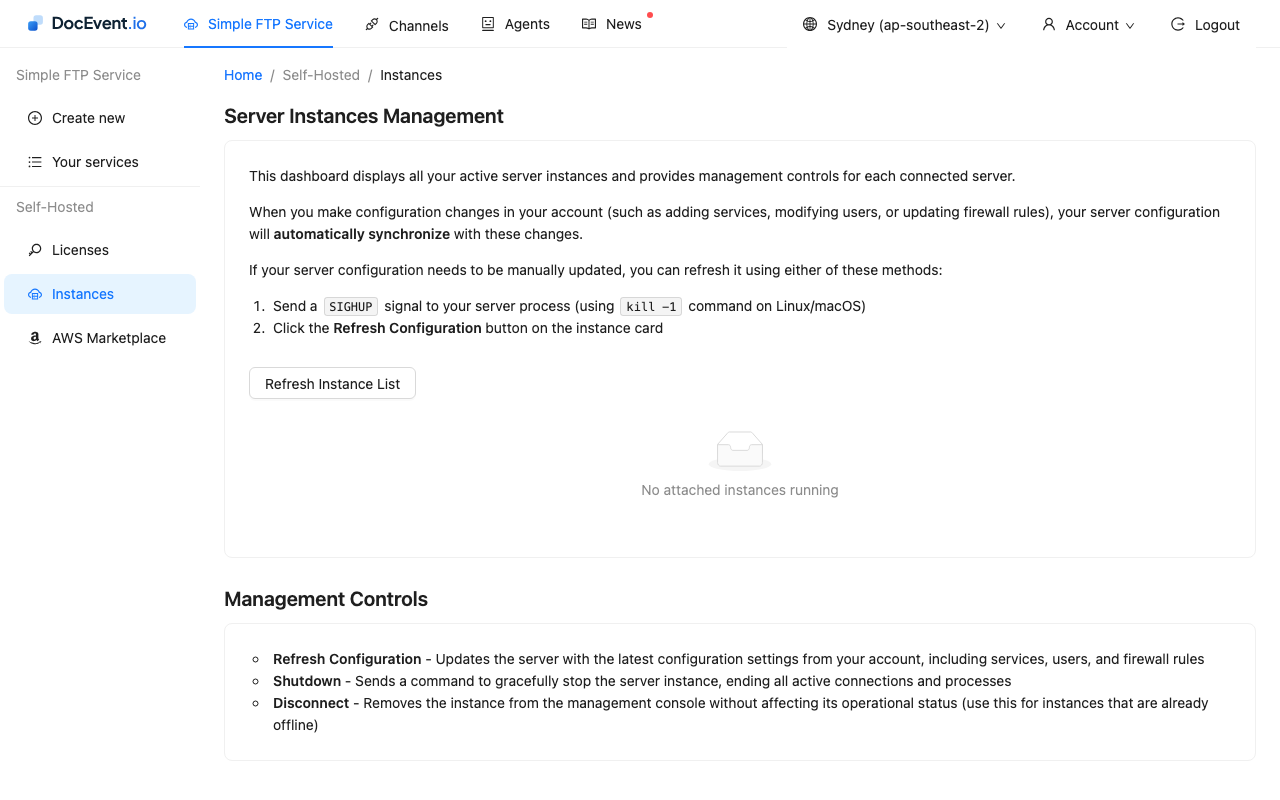
- Reload config - push the current configuration to the instance
immediately. Configuration changes normally arrive on their own the moment
you make them in the console; this button covers the case where a network
failure made the instance miss one. (
kill -1on the process does the same from the server side.) - Shutdown - gracefully stop the server remotely.
- Disconnect - remove the instance from DocEvent management. It keeps running and serving users, but is no longer managed from the console.
Next steps
Ready to go beyond a local trial?
- Server parameters - every flag, and what production mode requires
- Running in Docker
- Load balancing and firewall configuration